By the time the gritters are stood down, a bridge deck has usually had a hard few months. Water has moved in and out of every crack and joint, salt has been spread, washed into the drainage and left to sit, and freeze-thaw has done its quiet work on concrete that was already marginal. A walkover in early spring, before the next round of patching, is one of the cheapest ways to catch that damage while it is still a repair rather than a replacement.
Before You Walk the Deck
Time the visit properly. If you can, look twice: once while rain is still running off the deck, to see where water actually goes, and once in dry weather, when deposits, staining and cracks are far easier to read.
Take the right kit. You do not need a laboratory, but a few basics make the difference between a vague impression and a record you can use next year.
- A camera, and something to scale your photographs — a rule, a boot, a hand
- A 600 mm steel rule and a crack width gauge
- A small hammer for tapping concrete, and a chain drag for larger areas
- Chalk or marker paint, a notebook, and a torch
- High-visibility clothing, hard hat and stout boots
Never step onto a live carriageway without agreed traffic management and a briefed team. Ask the asset owner for the relevant permit and follow the site-specific risk assessment; a walkover that puts someone in front of traffic is not worth the data.
Freeze-Thaw Damage: The First Three Defects
1. Surface scaling and spalling. Look for a thin crust lost from the deck surface, kerb tops, plinths and the ends of the deck, with aggregate left standing proud. Salt scaling tends to appear in bands where water sits or runs.
2. Delamination and hollow areas. Tap the concrete with a hammer. A sharp ring is sound; a dull thud means the cover layer has separated. Use a chain drag over larger areas and chalk the outline, then measure it. Hollow patches will not survive another winter.
3. Failed local repairs. Winter is unkind to patch repairs made last autumn. Check the perimeter of every patch for lifting edges and hairline cracks, because water gets in behind the repair and the next freeze lifts the whole thing.
De-Icing Salt: The Slow Corrosive Hand
4. Rust staining. Brown streaks on a concrete face, along a longitudinal edge or on the underside of a deck, are worth following back to their source. Note whether the staining is dry and old or fresh and weeping.
5. Corrosion-induced cracking. Cracks that run parallel to the line of the reinforcement, usually above the top bars, often mean the steel is expanding as it corrodes. Where cover is thin, the same process produces rust jacking and spalling. If a crack follows a bar, treat it as a corrosion defect rather than a shrinkage crack.
6. Efflorescence, leaching and salt encrustation. White powder, calcium staining around joints, and tide marks at outlets or bearing plinths all show that chloride-laden water has been sitting where it should not. Chloride attack and poor drainage are almost always found together, so make the link in your notes.
Drainage Blockages: Where Winter's Debris Ends Up
7. Blocked gullies, scuppers, channels and weep holes. Expect grit, leaves, anti-skid debris and, often, blobs of patching material washed down the deck. A partly blocked outlet is easy to miss from a distance and obvious when you look into it.
8. Ponding and water tracking. Watch for a film of standing water, silty tidemarks, moss or algae, damp patches at the kerb line, and damp concrete on the soffit beneath a joint or a drainage run. Water on the deck means water somewhere else as well.
If you cannot wait for rain, carry a bottle of water and pour it into the gully. Where it goes — or does not go — tells you more than a photograph of a grate.
Cracking: Read the Pattern Before You Measure It
9. Transverse and longitudinal cracking. Transverse cracks often sit above piers, bearings and construction joints; longitudinal cracks may follow ducts, beam lines or the centre of the deck. Record the width, length, orientation and whether the crack is wet or rust-stained.
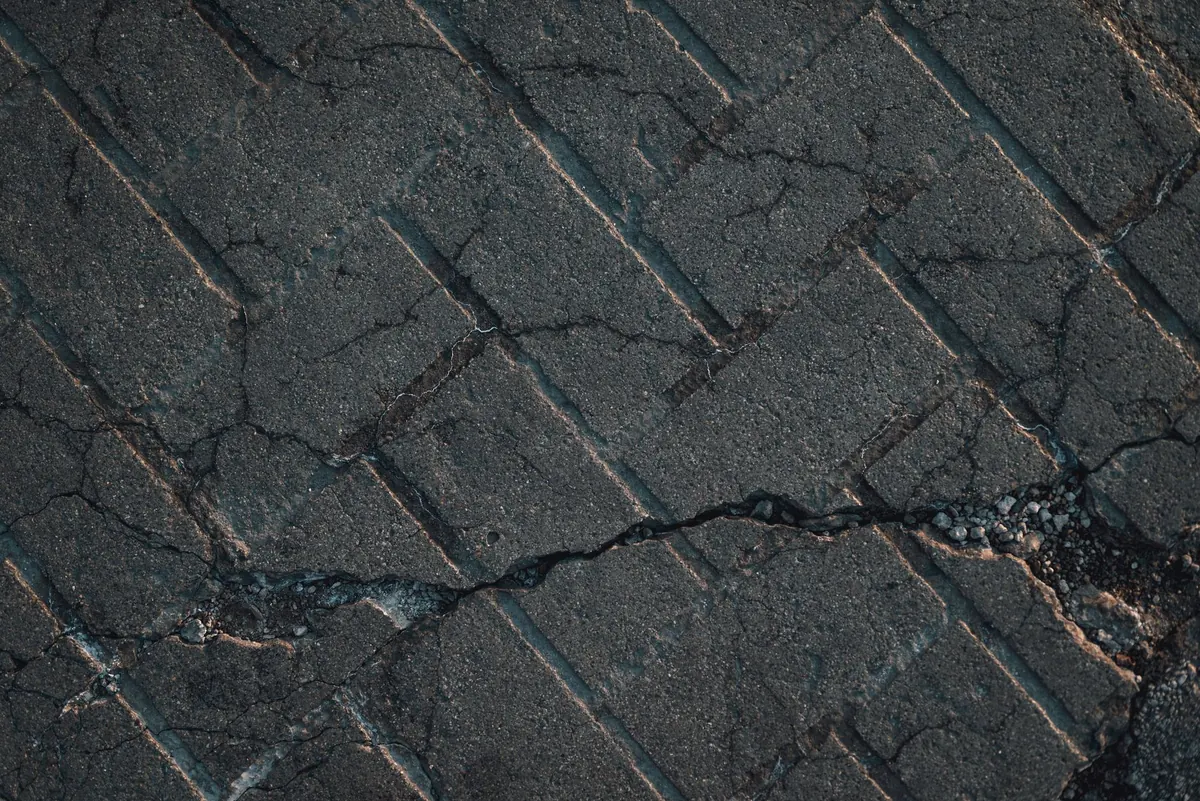
10. Map cracking, crazing and reflective cracking. A fine network across a slab suggests the surface is struggling; reflective cracks appear where a joint or beam moves beneath the surfacing and the crack tracks it in a straight line. Direction and pattern matter more than the total number of cracks.
What to record
Mark cracks with chalk, photograph them alongside a scale, and note width, length and direction. Then compare the images with last year's. Two years of consistent photography will tell you more about movement than any single visit.
Joints, Kerbs and Edges: Small Details, Big Consequences
11. Joint sealant failure and joint damage. Look for torn or missing sealant, debris packed into the gap, spalled concrete at the joint noses, damaged armour angles and loose or missing nose plates. Debris in a joint can lock it up, which loads the structure rather than the gap, and it is often the reason a bridge suddenly sounds different.
12. Kerbs, verges, edge beams and waterproofing at the margins. The first metre of a deck is where water concentrates and where salt sits longest. Check kerb units, verge drainage, the junction between surfacing and kerb, and the waterproofing upstand. Blistering surfacing or a verge that stays wet when everything else has dried is a strong hint that the membrane is damaged.
Turning the Walkover Into a Programme
A long list is not the goal. A short, ordered one is. Sort what you found into three groups:
- Immediate: anything that affects safe use, such as loose concrete over a road, a locked joint, or drainage flooding a bearing. Pass it to the responsible engineer straight away.
- This year: active corrosion, delaminated areas, failed sealant and blocked drainage. These are the jobs to schedule before the next salting season.
- Monitor: hairline cracks, weathered sealant and minor staining. Re-inspect at the next walkover with the previous photographs in hand.
Where damage looks structural, or where you simply are not sure what you are looking at, ask a qualified bridge engineer to inspect before committing to a repair method. The point of a post-winter walkover is not to prove how much needs doing. It is to make sure the right jobs are done before salt goes down again.
Photo: Chris F / Pexels